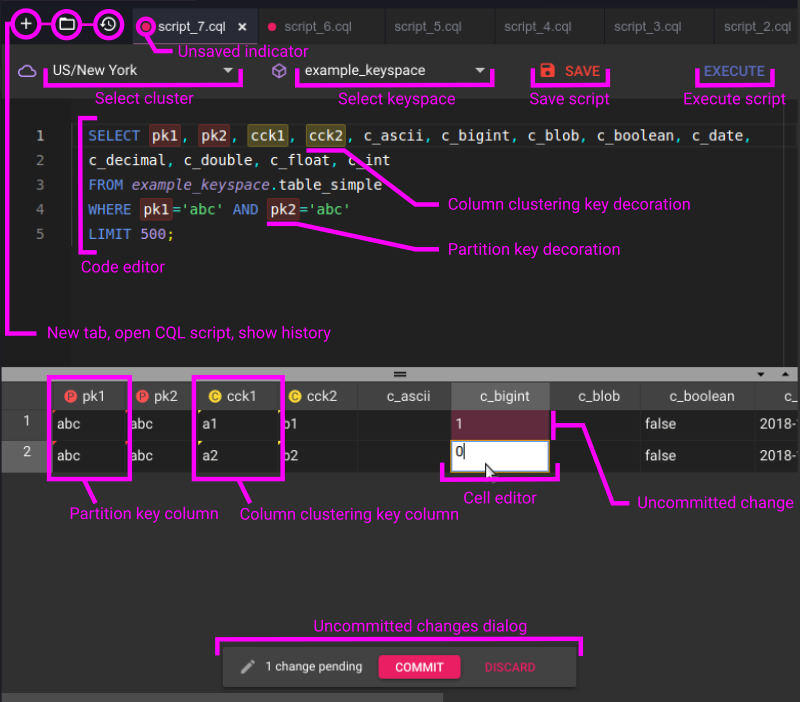
Cassandra Workbench is a free Visual Studio Code extension for browsing and querying Cassandra databases. It also features autocomplete and syntax highlighting.
This tutorial shows how to install Cassandra Workbench and configure a connection.
Before you begin
To use Cassandra Workbench with YugabyteDB, you need to have the following
- YugabyteDB up and running. Refer to YugabyteDB Prerequisites.
- Visual Studio Code installed.
Install the Cassandra Workbench extension
To install the extension, do the following:
-
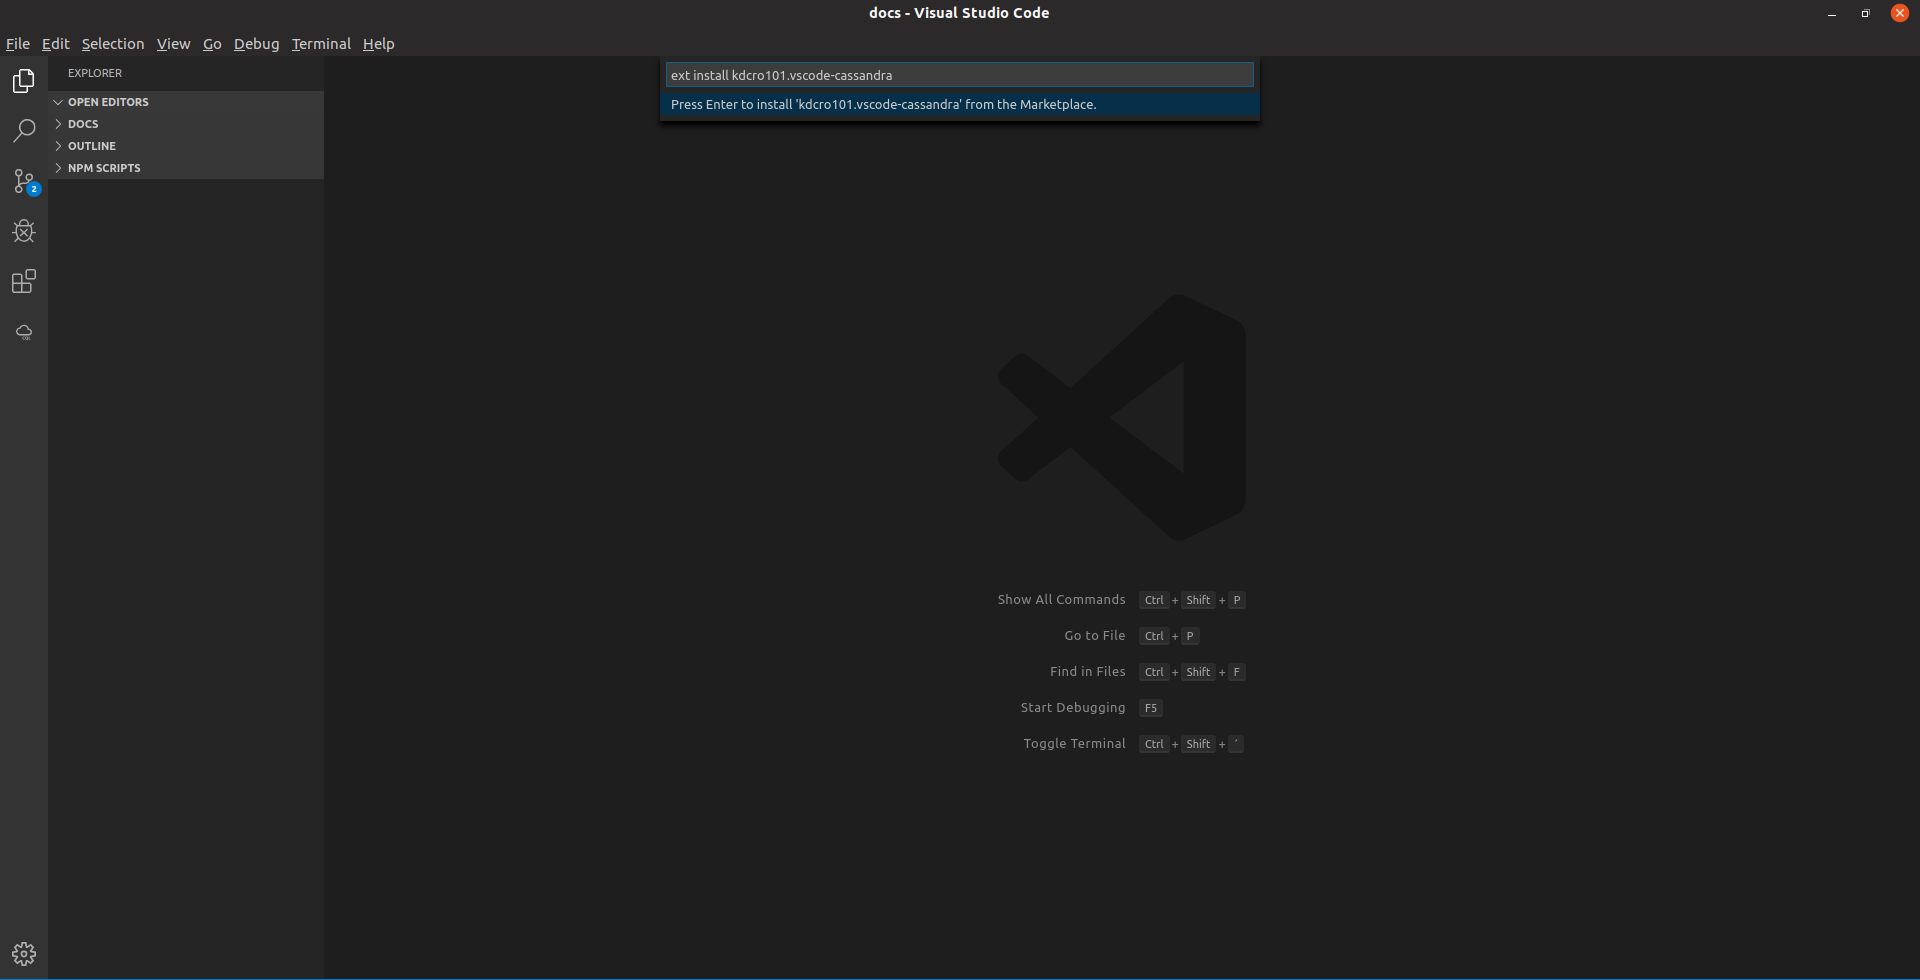
Start Visual Studio Code and from the Go menu, choose Go to File.

-
Enter the following command.
ext install kdcro101.vscode-cassandra
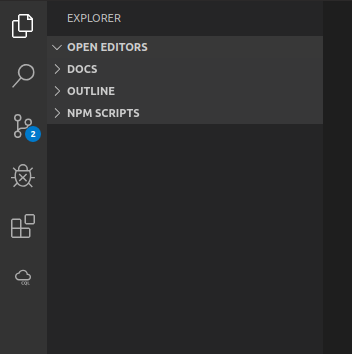
Cassandra Workbench is now available in the Activity bar.
For more information on managing extensions in Visual Studio Code, refer to Install an extension.
Create a configuration
-
Click the Cassandra Workbench icon in the Activity bar in Visual Studio Code.

-
Open the Command Palette (View>Command Palette) and enter the following command to generate the .cassandraWorkbench.jsonc configuration file:
Cassandra Workbench: Generate configuration -
In the Cassandra Workbench, click Edit configuration to open the configuration file.
-
Replace
contactPointswith the host address, and username and password with your credentials (the default user and password iscassandra).// name must be unique! [ // AllowAllAuthenticator { "name": "Cluster AllowAllAuthenticator", "contactPoints": ["127.0.0.1"] }, //PasswordAuthenticator { "name": "Cluster PasswordAuthenticator", "contactPoints": ["127.0.0.1"], "authProvider": { "class": "PasswordAuthenticator", "username": "cassandra", "password": "cassandra" } } ]
You can now explore your YCQL schema and data.

What's next
For more details, refer to Cassandra Workbench for Visual Studio Code.