Manage the provider configuration
Navigate to Integrations > Infrastructure > On-Premises Datacenters to see a list of all currently configured on-premises providers.
If you are using automatic provisioning, on-premises providers are created automatically when provisioning nodes. Refer to Automatically provision on-premises nodes.
Before you can deploy universes to private clouds using YugabyteDB Anywhere, you must have an on-premises provider configuration. With on-premises providers, VMs are not auto-created by YugabyteDB Anywhere; you must create a provider, manually create your VMs, and then add them to the provider's free pool of nodes.
Create a provider
You can create an on-premises provider manually as follows:
-
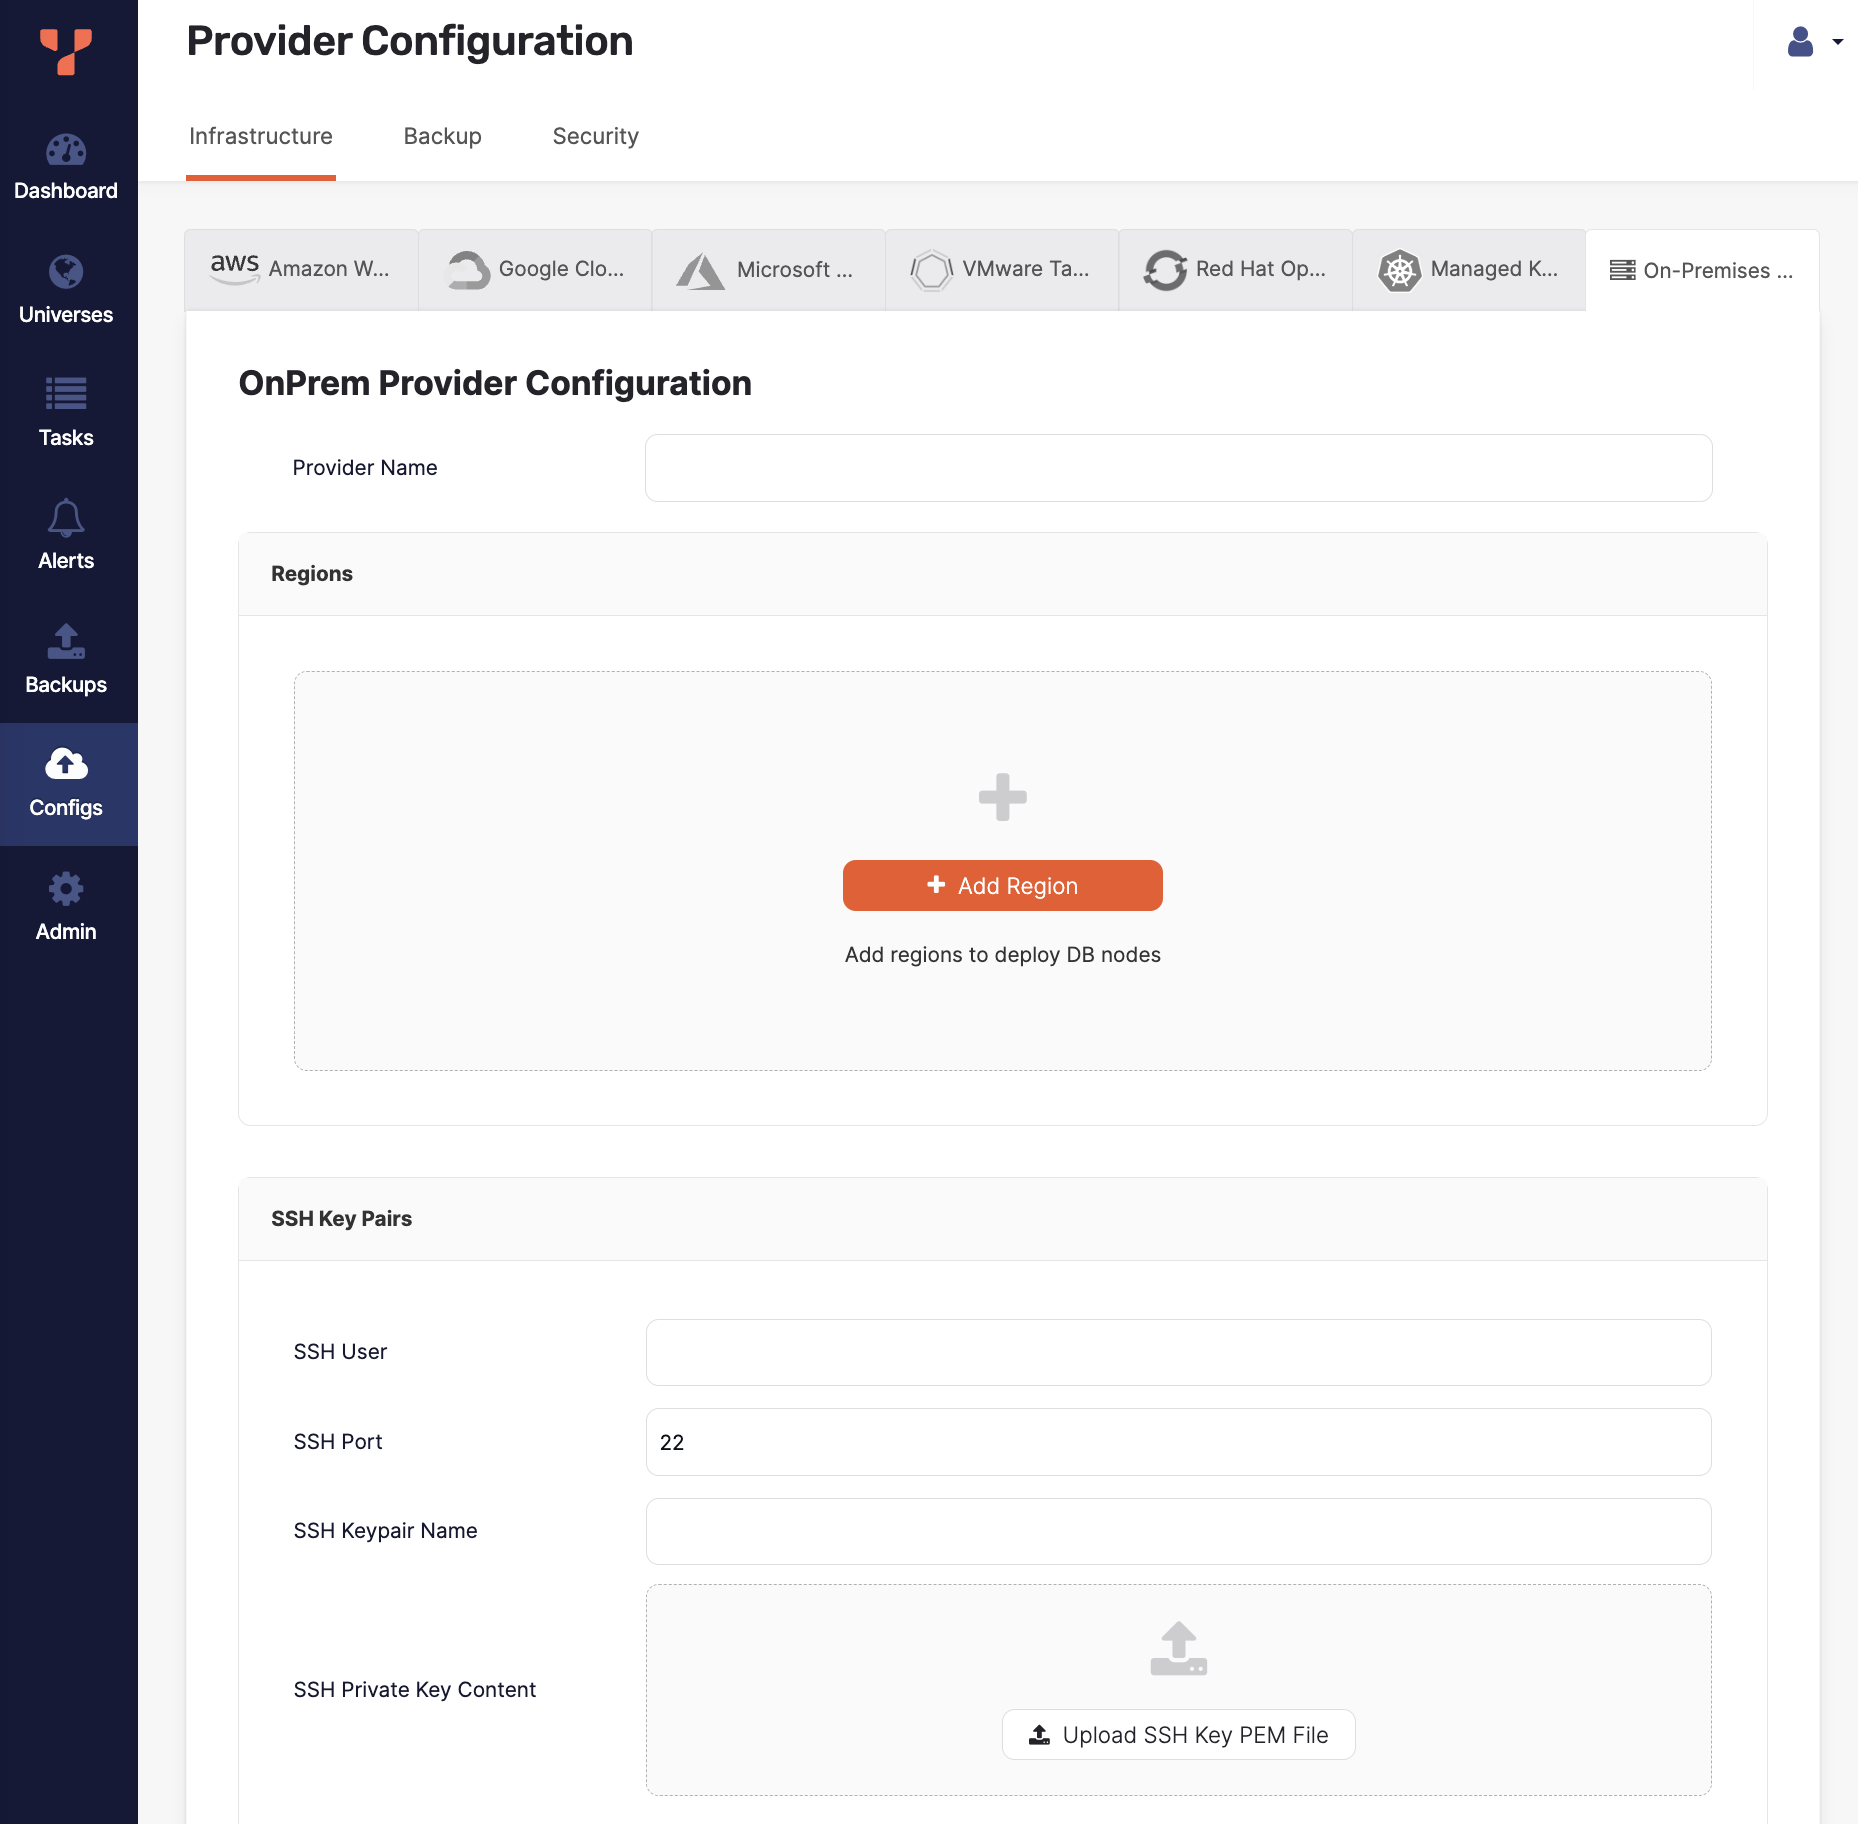
Click Create Config to open the OnPrem Provider Configuration page.
-
Enter the provider details. Refer to Provider settings.
-
Click Create Provider Configuration when you are done and wait for the configuration to complete.
After the provider is created, add your VMs to the provider's free pool of nodes. Refer to Add nodes to the provider free pool.
View and edit providers
To view a provider, select it in the list of On Prem Configs to display the Overview.
To edit the provider, select Config Details, make changes, and click Apply Changes. For more information, refer to Provider settings. Note that, depending on whether the provider has been used to create a universe, you can only edit a subset of options.
To view the universes created using the provider, select Universes.
To delete the provider, click Actions and choose Delete Configuration. You can only delete providers that are not in use by a universe.
Provider settings
Provider Name
Enter a Provider name. The Provider name is an internal tag used for organizing cloud providers.
Regions
To add regions for the provider, do the following:
-
Click Add Region.
-
Enter a name for the region.
-
Select the region location.
-
To add a zone, click Add Zone and enter a name for the zone.
Rack awarenessFor on-premises deployments, consider racks as zones to treat them as fault domains. -
Click Add Region.
SSH Key Pairs
Required for legacy automatic provisioning, to provide sudo access to VMs.
In the SSH User field, enter the name of the user that has SSH privileges on your instances. This SSH user cannot be named yugabyte.
YugabyteDB Anywhere will use this user for SSH access to the nodes in order to provision them. In addition, deselect the Manually Provision Nodes option (under Advanced) (the default).
In the SSH Port field, provide the port number of SSH client connections.
In the SSH Keypair Name field, provide the name of the key pair.
Use the SSH Private Key Content field to upload the private key PEM file available to the SSH user for gaining access via SSH into your instances.
Advanced
- DB Nodes have public internet access
- Disable this option if you want the installation to run in an airgapped mode without expecting any internet access.
- Manually Provision Nodes
- Indicates whether you are providing SSH Key Pairs (sudo privileges) to YugabyteDB Anywhere for it to automatically manage VM provisioning.
- If you are not providing SSH Key Pairs to YugabyteDB Anywhere, select this option.
- If you are providing SSH Key Pairs so that YugabyteDB Anywhere can perform legacy automatic provisioning, deselect this option.
- This option is automatically selected when you provision nodes using the YugabyteDB Anywhere node agent package.
- Select this option if you are using legacy fully manual provisioning to provision your nodes.
- YB Nodes Home Directory
- Optionally, use the YB Nodes Home Directory field to specify the home directory of the
yugabyteuser. The default value is/home/yugabyte. - Install Node Exporter
- Enable this option if you want the Prometheus Node Exporter installed. You can skip this step if you have Node Exporter already installed on the nodes. Ensure you have provided the correct port number for skipping the installation.
- The Node Exporter User field allows you to override the default
prometheususer. This is helpful when the user is pre-provisioned on nodes (when the user creation is disabled). If overridden, the installer checks whether or not the user exists and creates the user if it does not exist. - Use the Node Exporter Port field to specify the port number for the Prometheus Node Exporter. The default value is 9300.
- NTP Setup
- You can customize the Network Time Protocol server.
- Select Specify Custom NTP Server(s) to provide your own NTP servers and allow the cluster nodes to connect to those NTP servers.
- Select Assume NTP server configured in machine image to prevent YugabyteDB Anywhere from performing any NTP configuration on the cluster nodes. For data consistency, ensure that NTP is correctly configured on your machine image.
Next step
- Stage 3: Add nodes to the provider free pool