Create admin user
You can access YugabyteDB Anywhere via an Internet browser that has been supported by its maker in the past 24 months and that has a market share of at least 0.2%. In addition, you can access YugabyteDB Anywhere via most mobile browsers, except Opera Mini.
YugabyteDB Anywhere provides the following built-in roles for user accounts: Super Admin, Admin, Backup Admin, Read only, and Connect only. Unless otherwise specified, the YugabyteDB Anywhere documentation describes the functionality available to a Super Admin user.
The first step after installing YugabyteDB Anywhere is to create your Super Admin account. You can subsequently use this account to create additional users and roles, configure your YugabyteDB Anywhere instance, and manage your user profile.
A YugabyteDB Anywhere installation has one Super Admin user created during registration. You can provision additional Super Admin users through LDAP or OIDC group mapping (when enabled).
Create admin account
You can create an admin account via https://<yugabytedbanywhere-host-ip>/register, replacing yugabytedbanywhere-host-ip with the IP address hosting your YugabyteDB Anywhere instance, as per the following example:
https://10.170.1.192/register
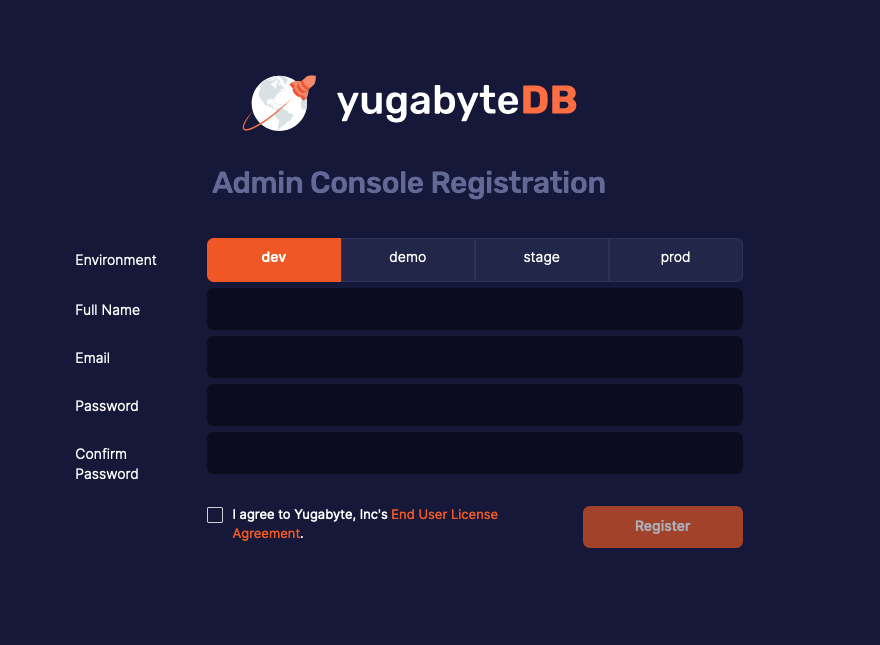
The following illustration shows the admin console:
Note that by default YugabyteDB Anywhere runs as a single-tenant application.
You proceed with the account creation as follows:
- Select the environment.
- Enter your new user credentials.
- Confirm the user agreement.
- Click Register.
You are now redirected to the sign in page located at https://<yugabytedb-anywhere-host-ip>/login.
Sign in to YugabyteDB Anywhere using your new credentials.
Recover Super Admin access
If all local users are removed and LDAP or OIDC is unavailable, YugabyteDB Anywhere can become inaccessible. To restore access, create a local Super Admin directly in the YugabyteDB Anywhere database using add_superadmin_user.py, as follows:
-
Log in to the YugabyteDB Anywhere host and go to
yb_devops_home. -
Run the script with
py_wrapper, providing an email, password, and install type. For example:Standalone Postgres:
./bin/py_wrapper ./bin/add_superadmin_user.py \
  --email admin@example.com --password 'password123' -t standalone
Docker-based Postgres:
export DOCKER_POSTGRES_CONTAINER=yugaware-postgres
export POSTGRES_USER=postgres
export POSTGRES_DB=yugaware
export POSTGRES_HOST=localhost
export POSTGRES_PORT=5432
./bin/py_wrapper ./bin/add_superadmin_user.py \
  --email admin@example.com --password 'password123' -t docker
Kubernetes:
./bin/py_wrapper ./bin/add_superadmin_user.py \ -t kubernetes -e admin@example.com -p 'password123' \ -n yb-platform -f /path/to/kubeconfig -
Sign in to YugabyteDB Anywhere with the new local Super Admin user.
Use this script only when no local Super Admin is available. If a primary local Super Admin already exists, the script prints a message and exits without creating another user; sign in with the existing local Super Admin instead.
Change your account information
After signing in, you may change the information related to your account, including the user name and password, by clicking the User icon at the top right, and then selecting User Profile.