Create Kubernetes provider configuration
Before you can deploy universes to VMware Tanzu using YugabyteDB Anywhere (YBA), you must create a provider configuration.
Prerequisites
Before you start, ensure that you have created the kubeconfig file so YBA can use the provided credentials to automatically provision and deprovision Kubernetes pods that run the YugabyteDB universe.
Configure TKG
To configure any TKG edition (that is, either TKG-Integrated, TKG-Service, or TKG-Multicloud), navigate to Configs > Infrastructure > VMware Tanzu.
This lists all currently configured VMware Tanzu providers.
To create a TKG provider, click Create Kubernetes Config. For more information, refer to Create a provider.
Provider settings
Set the Kubernetes Provider Type to VMWare Tanzu.
For information on the Kubernetes Provider settings, refer to Provider settings.
To add service-level annotations, use the following overrides:
serviceEndpoints:
  - name: "yb-master-service"
    type: "LoadBalancer"
    annotations:
      service.beta.kubernetes.io/aws-load-balancer-internal: "0.0.0.0/0"
    app: "yb-master"
    ports:
      ui: "7000"

  - name: "yb-tserver-service"
    type: "LoadBalancer"
    annotations:
      service.beta.kubernetes.io/aws-load-balancer-internal: "0.0.0.0/0"
    app: "yb-tserver"
    ports:
      ycql-port: "9042"
      ysql-port: "5433"
To disable LoadBalancer, use the following overrides:
enableLoadBalancer: False
To change the cluster domain name, use the following overrides:
domainName: my.cluster
To add annotations at the StatefulSet level, use the following overrides:
networkAnnotation:
  annotation1: 'foo'
  annotation2: 'bar'
Appendix: VMware Tanzu application service
VMware Tanzu Application Service is no longer actively supported and the following information is considered legacy.
If you choose to use VMware Tanzu Application Service, before creating the service instance, ensure that the following is available:
- The YugabyteDB tile is installed in your PCF marketplace.
- The cloud provider is configured in the YBA instance in your PCF environment.
Create a YugabyteDB service instance
You can create a YugabyteDB service instance via the App Manager UI or Cloud Foundry (cf) command-line interface (CLI).
Use the PCF app manager
-
In your PCF App manager, navigate to the marketplace and select YugabyteDB.
-
Read descriptions of the available service plans to identify the resource requirements and intended environment, as shown in the following illustration:

-
Select the service plan.
-
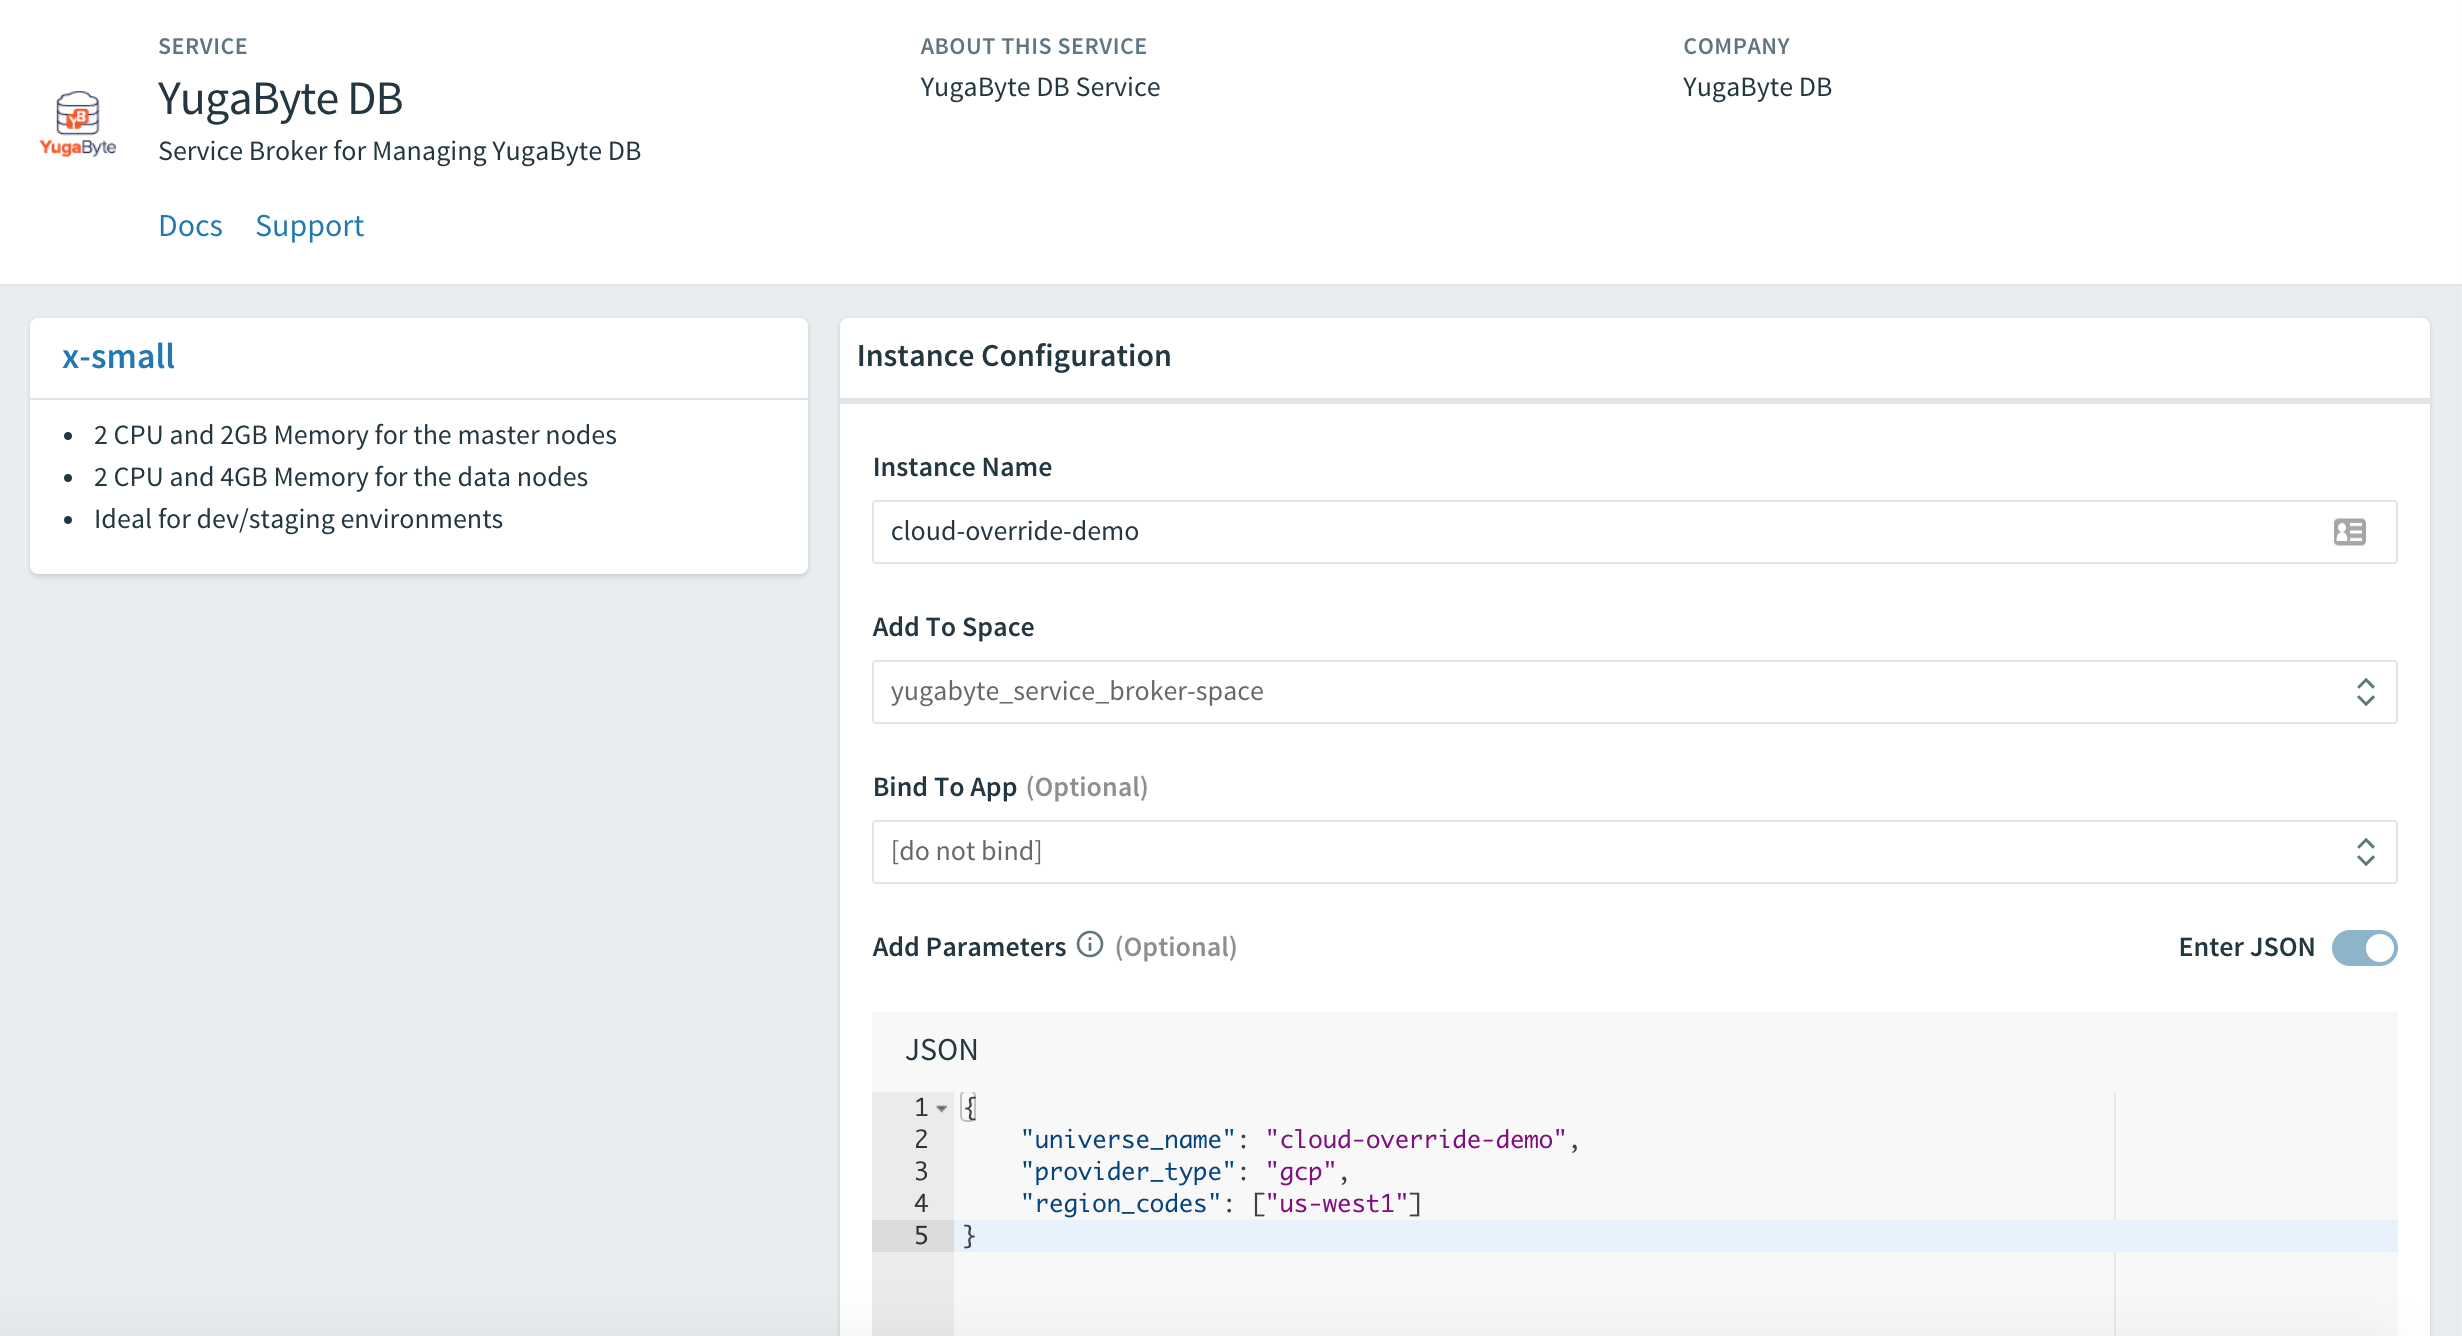
Complete the service instance configuration, as shown in the following illustration:

Use the cloud foundry CLI
You can view the marketplace and plan description in the cf CLI by executing the following command:
cf marketplace -s yugabyte-db
The output should be similar to the following:
service plan   description                  free or paid
x-small        Cores: 2, Memory (GB): 4     paid
small          Cores: 4, Memory (GB): 7     paid
medium         Cores: 8, Memory (GB): 15    paid
large          Cores: 16, Memory (GB): 15   paid
x-large        Cores: 32, Memory (GB): 30   paid
After you decide on the service plan, you can launch the YugabyteDB service instance by executing the following command:
cf create-service yugabyte-db x-small yb-demo -c '{"universe_name": "yb-demo"}'
Configure the YugabyteDB service instance
You can specify override options when you create a service instance using the YugabyteDB service broker.
Override cloud providers
Depending on the cloud providers configured for your YBA, you can create Yugabyte service instances by providing overrides.
To provision in AWS or GCP cloud, your overrides should include the appropriate provider_type and region_codes as an array, as follows:
{
 "universe_name": "cloud-override-demo",
 "provider_type": "gcp", # gcp for Google Cloud, aws for Amazon Web Service
 "region_codes": ["us-west1"] # comma delimited list of regions
}
To provision in Kubernetes, your overrides should include the appropriate provider_type and kube_provider type, as follows:
{
 "universe_name": "cloud-override-demo",
 "provider_type": "kubernetes",
 "kube_provider": "gke" # gke for Google Compute Engine, pks for Pivotal Container Service (default)
}
Override the number of nodes
To override the number of nodes, include the num_nodes with the desired value, and then include this parameter along with other parameters for the cloud provider, as follows:
{
 "universe_name": "cloud-override-demo",
 "num_nodes": 4 # default is 3 nodes.
}
Override the replication factor
To override the replication factor, include replication with the desired value, and then include this parameter along with other parameters for the cloud provider, as follows:
{
 "universe_name": "cloud-override-demo",
 "replication": 5,
 "num_nodes": 5 # if the replication factor is 5, num_nodes must be 5 minimum
}
replication must be set to 1, 3, 5, or 7.
Override the volume settings
To override the volume settings, include num_volumes with the desired value, as well as volume_size with the volume size in GB for each of those volumes. For example, to have two volumes with 100GB each, overrides should be specified as follows:
{
 "universe_name": "cloud-override-demo",
 "num_volumes": 2,
 "volume_size": 100
}
Override the YugabyteDB software version
To override the YugabyteDB software version to be used, include yb_version with the desired value, ensuring that this version exists in YBA, as follows:
{
 "universe_name": "cloud-override-demo",
 "yb_version": "1.1.6.0-b4"
}