Create and edit instance tags
The instances created on a cloud provider can be assigned special metadata to help manage, bill, or audit the resources.
On Amazon Web Services (AWS), they are referred to as instance tags. In the context of YugabyteDB Anywhere, these tags are known as user tags.
You can define instance tags when you create a new universe, as well as modify or delete tags of an existing universe. These tags are represented by key-value pairs under Instance Configuration > User Tags on the Create Universe or Edit Universe page, as per the following illustration:

You can define the tags in any order.
Name is the only key that can have templated tags, so it can be made of different parts filled in at runtime to determine node and instance names, based on the following guidelines:
- The parts of the template should be enclosed between
${and}. - The reserved keywords that can be specified:
universe,instance-id,zone, andregion. - Templated tag value must have
instance-idat the minimum. - Order of the parts of template does not matter.
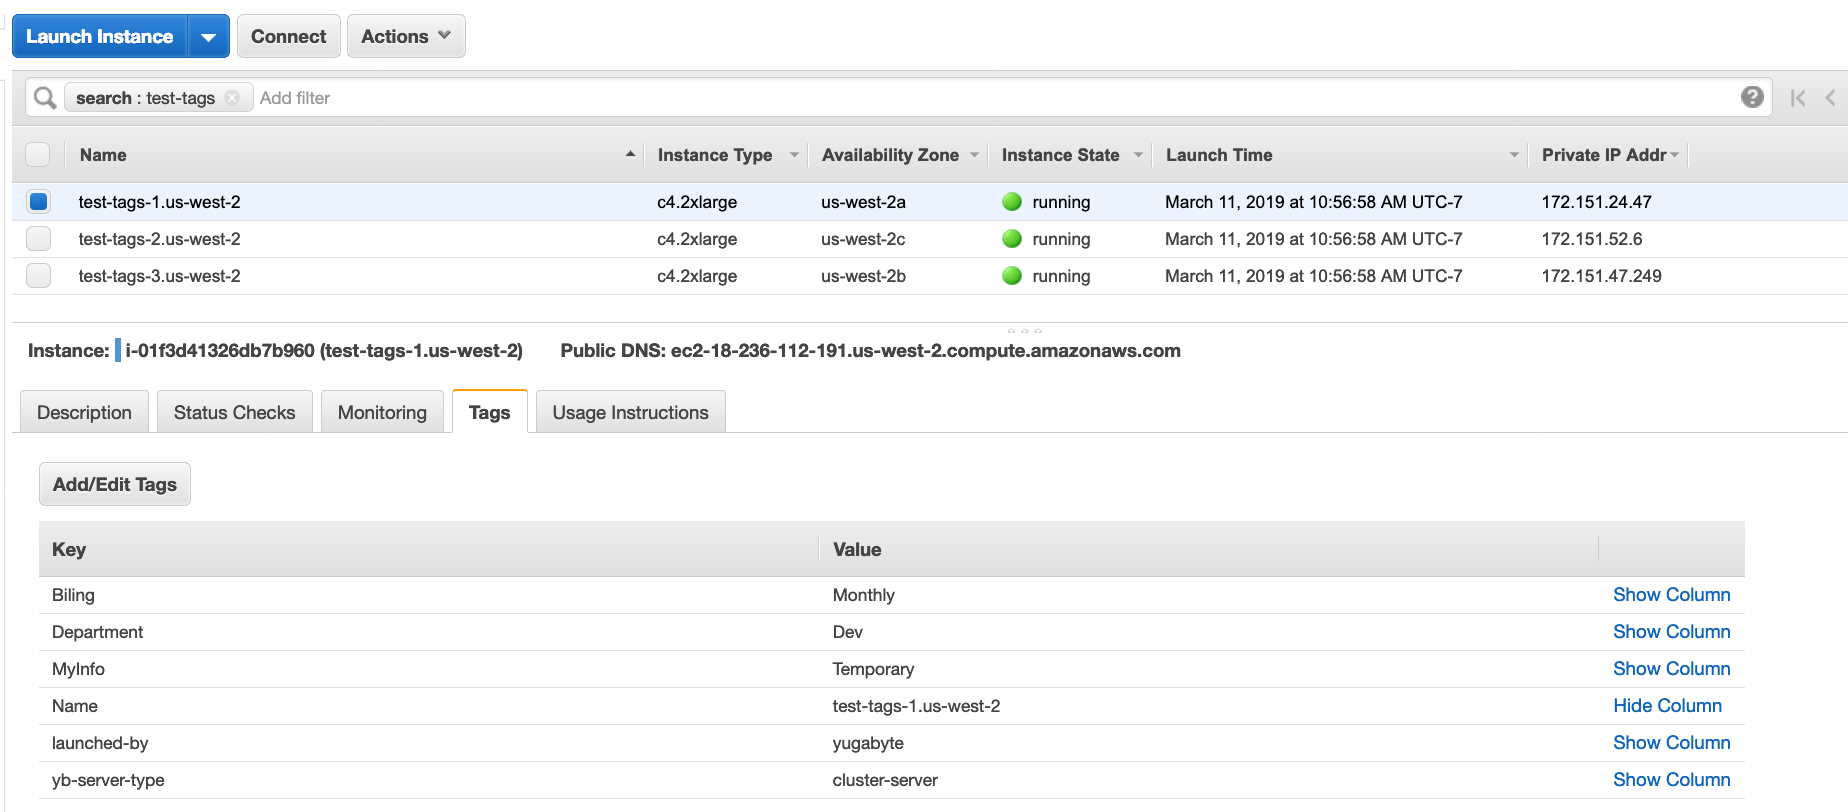
Now open the cloud provider's instances page. The following example uses AWS as the cloud provider, so you need to navigate to EC2 > Running Instances in the correct availability zone and search for instances that have test-tags in their name. You should see the following under Tags of those instances:

yb-server-type and launched-by are reserved names.
Now suppose you modified the existing user tags, as per the following illustration:

The following changes have been made:
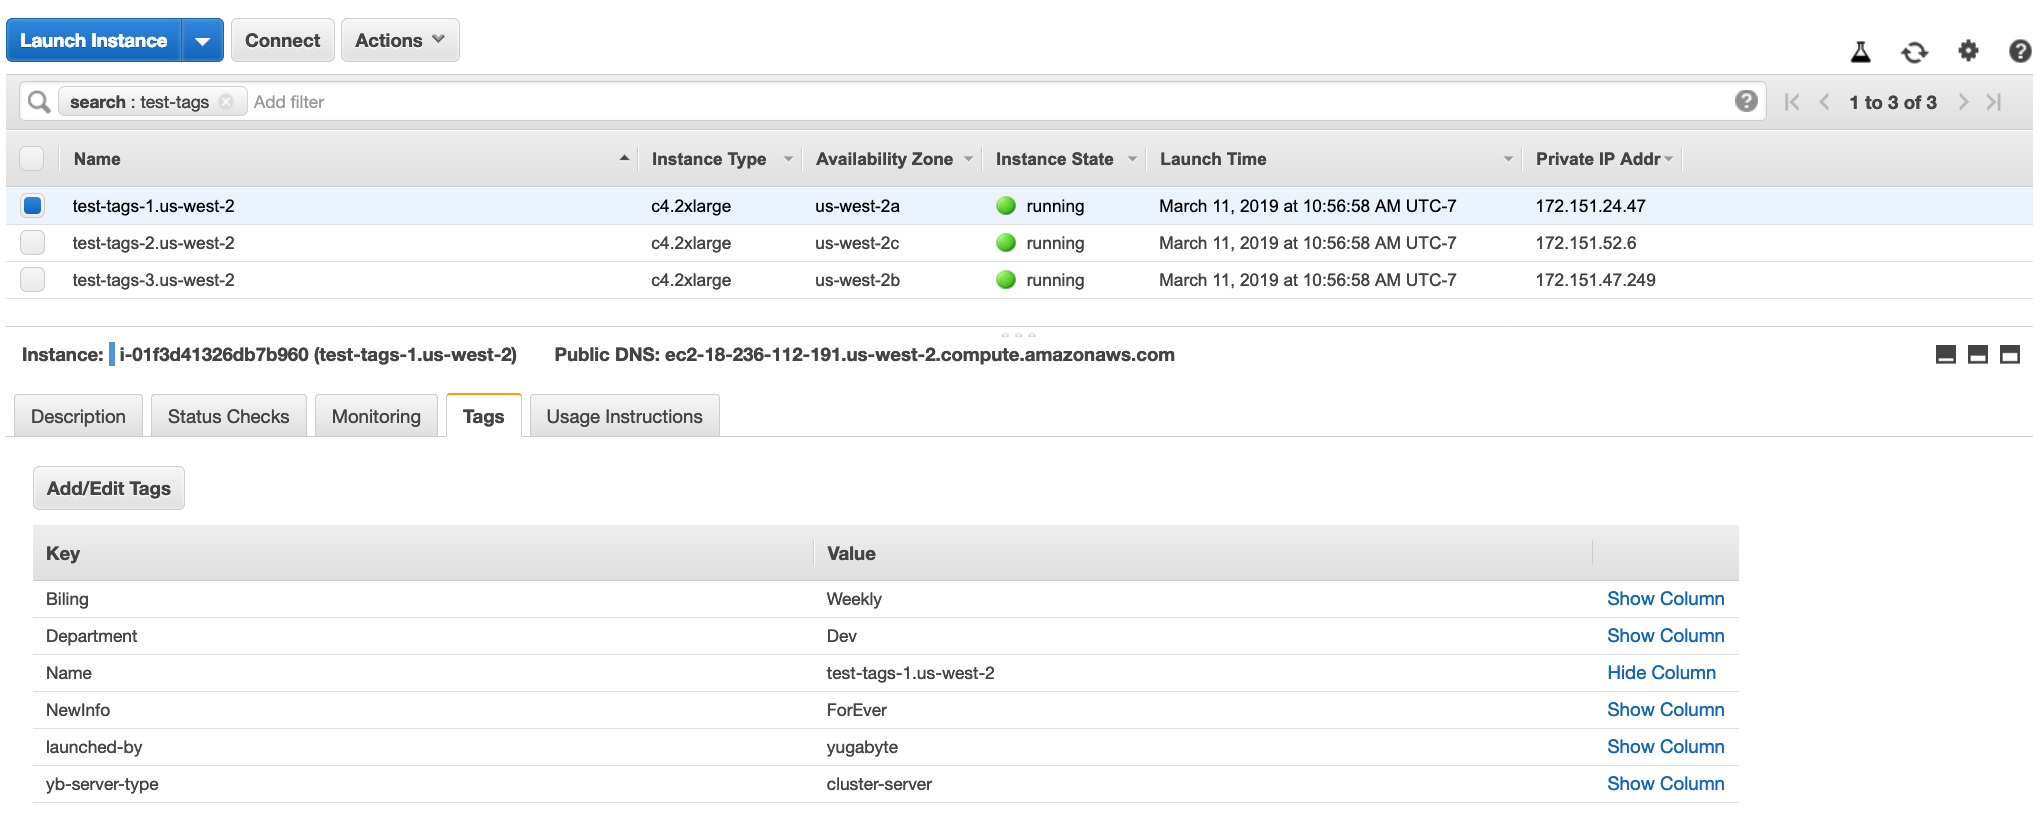
Billingwas modified.MyInfowas deleted.NewInfowas added.Departmentwas not changed.
Note that you cannot change the Name key field.
Once again, you can confirm via the cloud provider list of instances that the tags have been updated correctly, as per the following illustration:
