Configure authentication for YugabyteDB Anywhere
You can configure YugabyteDB Anywhere to use OpenID Connect (OIDC) for single sign-on (SSO) authentication to access to your YugabyteDB Anywhere instance.
OIDC is an authentication protocol that allows client applications to confirm the user's identity via authentication by an authorization server.
When OIDC is enabled, users are presented with the following options when signing in to YugabyteDB Anywhere:
- Login with SSO redirects the user to the appropriate identity provider's sign in mechanism.
- Super Admin Login allows the user to sign in to YugabyteDB Anywhere as a local super admin.
To configure YugabyteDB Anywhere for OIDC, you need to be signed in as a Super Admin.
Learn more
- For information on configuring a YugabyteDB Anywhere universe to use OIDC-based authentication using Azure AD as the IdP, refer to OIDC authentication with Azure AD.
- For information on how to add users, see Create, modify, and delete users. The email ID that you enter in the Add User dialog must be registered with the identity provider, and the role must reflect the user's role on YugabyteDB Anywhere.
Use OIDC groups with YugabyteDB Anywhere roles
This feature is EA .
If your OIDC provider is configured with user groups, you can map the groups to YugabyteDB Anywhere roles. Users who are members of these groups can then sign in to YugabyteDB Anywhere without needing to be added to YugabyteDB Anywhere first. Users who are members of multiple groups are assigned the most privileged role.
Currently, groups can only be mapped to built-in roles.
Note that, if you use group mapping, you must manage users via your OIDC server. You can't add or change user roles in YugabyteDB Anywhere.
Prerequisites
To use OIDC groups, ensure the following on your IdP:
- Create user groups and add users to this group. This is possible on most IdPs.
- Configure the IdP so that groups are present in the ID token. As groups is not one of the Standard Claims, you will need to add the groups claim in the ID token by configuring your IdP provider settings. Refer to your IdP documentation.
- For Azure AD/Microsoft Entra ID, Azure doesn't allow obtaining group names in ID tokens. You need to use the Azure API to get a list of the user's group memberships. Note that to fetch the group membership via Azure API, the IdP administrator will need to assign the GroupMember.Read.All API permission to the registered application on Azure.
During EA, by default OIDC group mapping is not enabled. To enable the feature, you need to set the yb.security.oidc_enable_auto_create_users configuration flag to true as follows:
-
Navigate to Admin > Advanced > Global Configuration.
-
Search on OIDC to display the configuration setting and set it to true.
Enable OIDC for YugabyteDB Anywhere
YugabyteDB Anywhere accepts OIDC configuration either using a discovery URL that points to the OpenID Provider Configuration Document for your provider, or by uploading the document directly. The configuration document contains key-value pairs with details about the OIDC provider's configuration, including uniform resource identifiers of the authorization, token, revocation, user information, and public-keys endpoints. YugabyteDB Anywhere uses the metadata to discover the URLs to use for authentication and the authentication service's public signing keys.
For air-gapped installations, where YugabyteDB Anywhere does not have access to the discovery URL, you need to explicitly provide the configuration document.
You configure OIDC as follows:
-
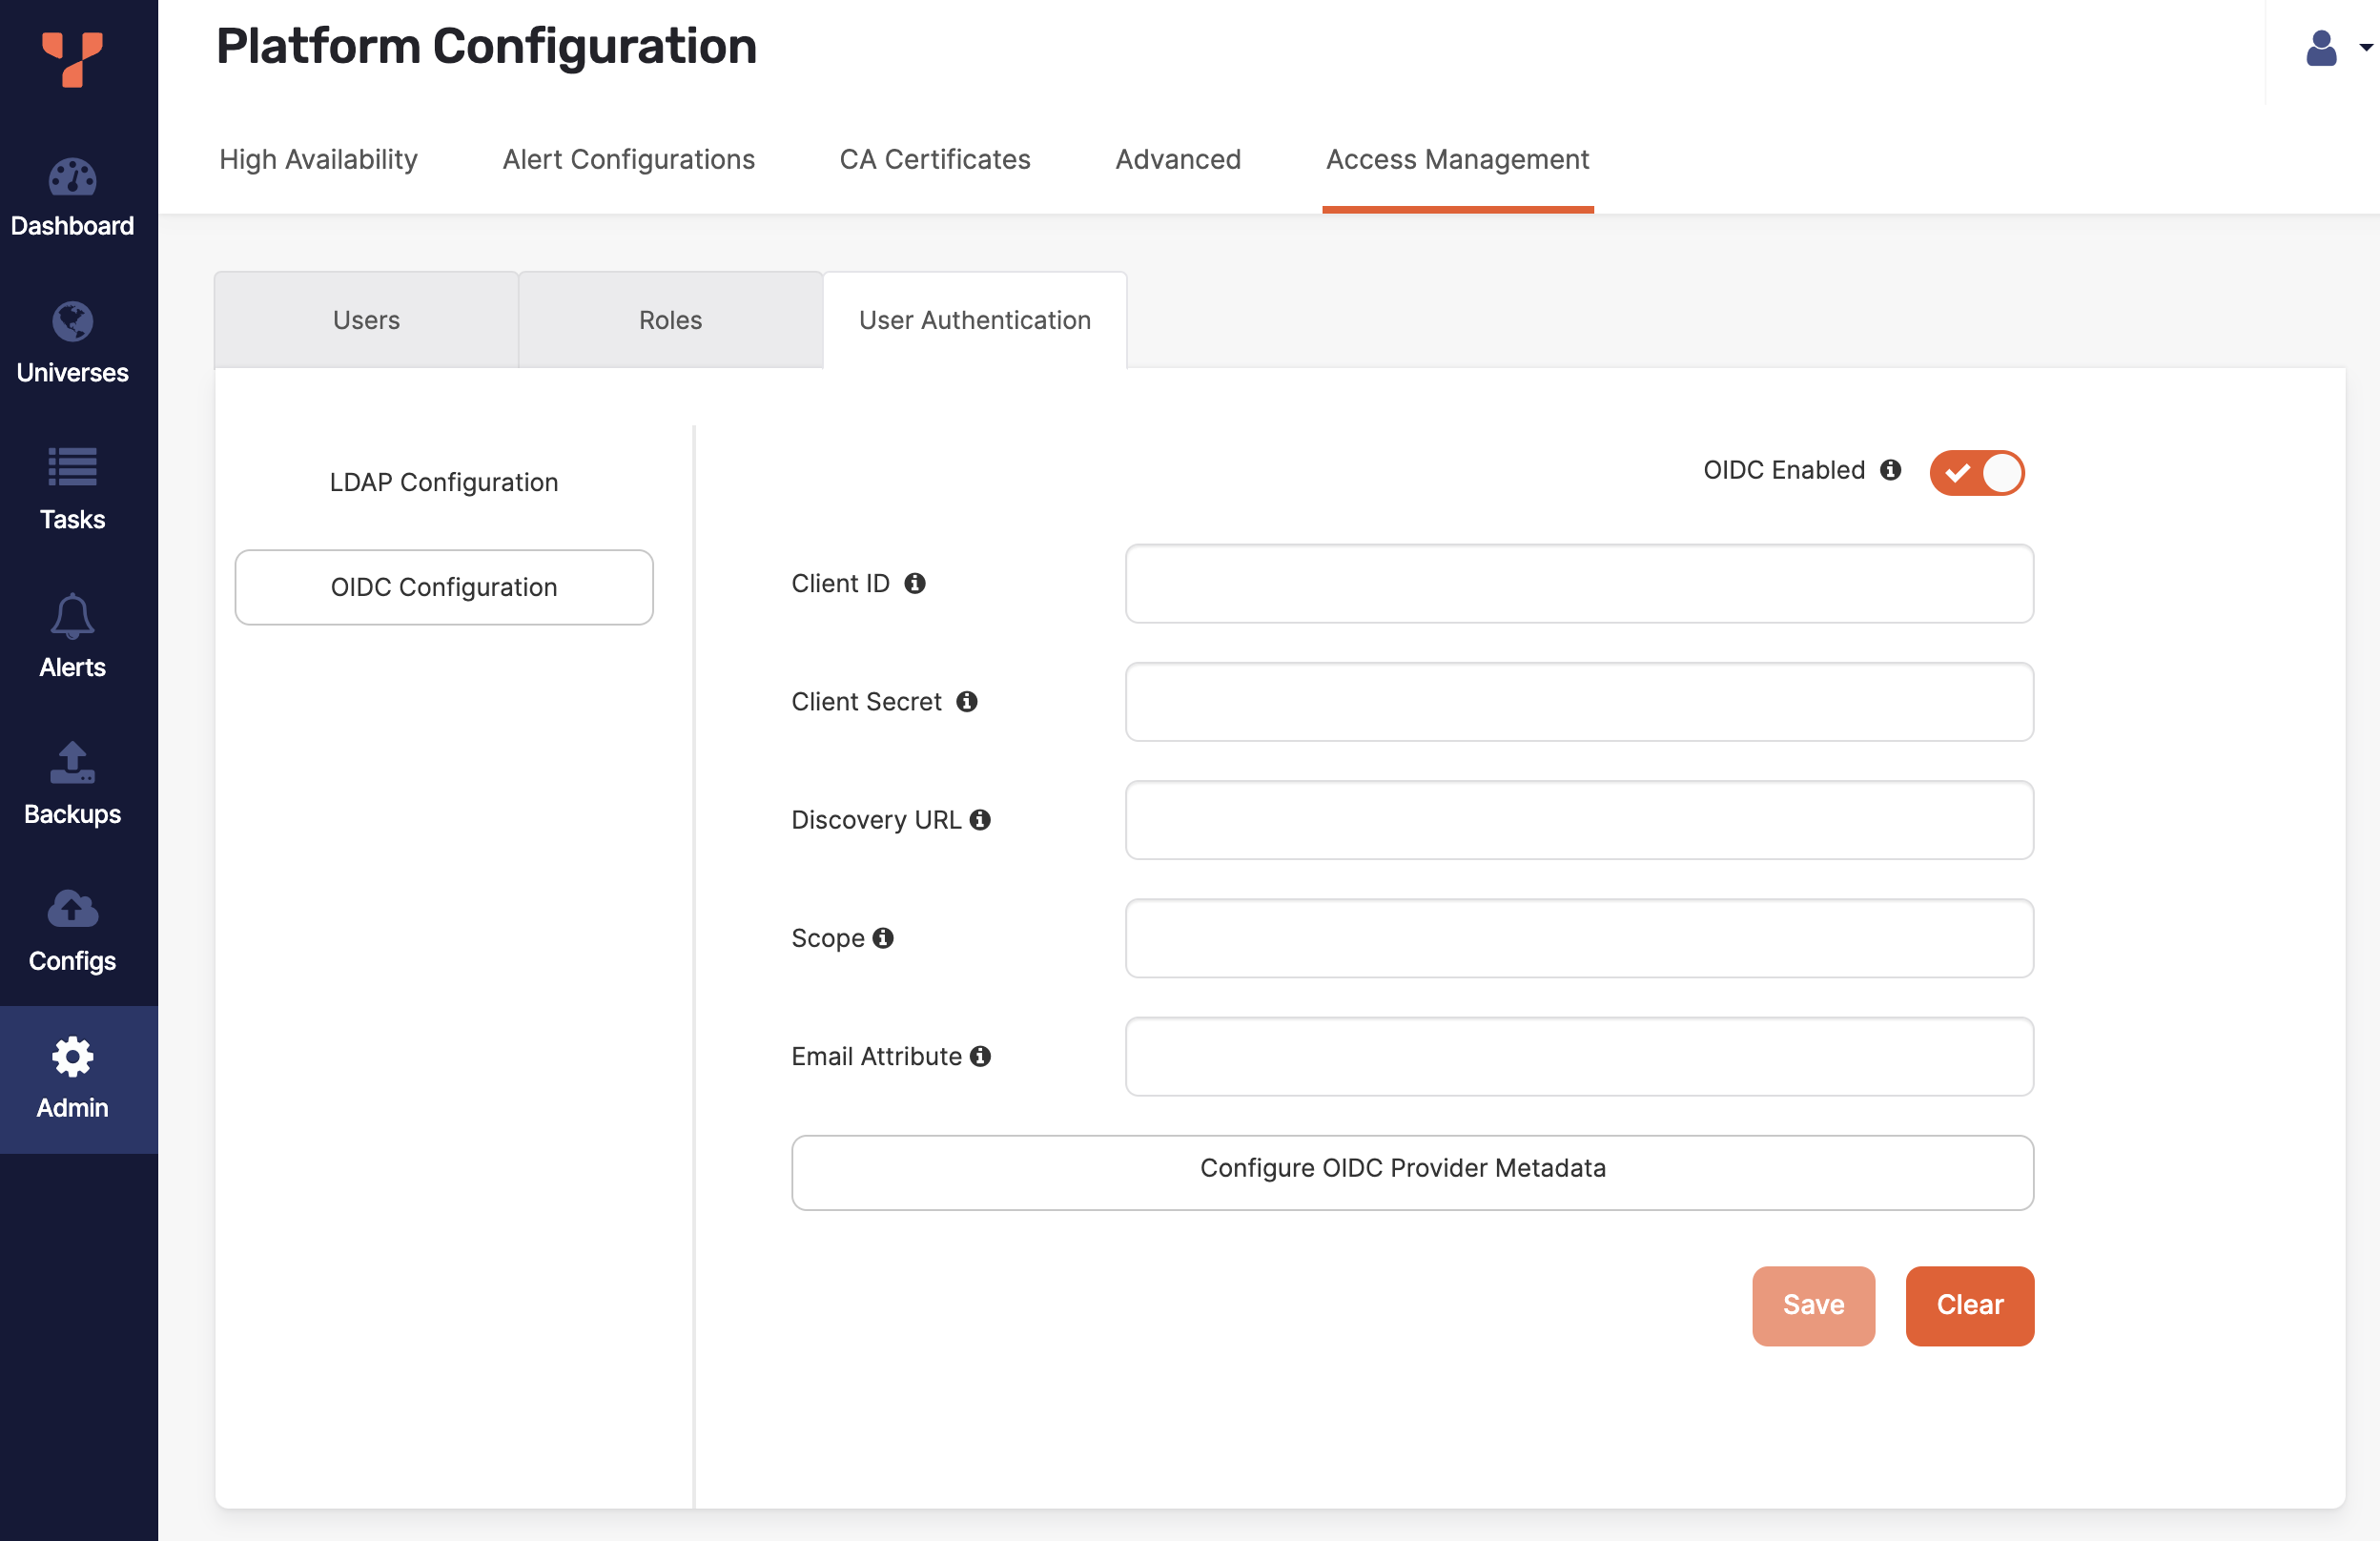
Navigate to Admin > Access Management > User Authentication > OIDC Configuration.
-
Select OIDC Enabled and complete the fields shown in the following illustration:

-
In the Client ID field, enter the unique identifier that you provided when you manually created the client application in the identity provider.
-
In the Client Secret field, enter the password or secret for authenticating your Yugabyte client application with your identity provider.
-
Use the Discovery URL field to provide a URL for the discovery document that contains OIDC configuration for the identity provider. The discovery document is a JSON file stored in a well-known location.
Google OIDC discovery endpoint is an example of such file. For most identity providers,
/.well-known/openid-configurationis appended to the issuer to generate the metadata URL for OIDC specifications.If you have an airgapped installation, where YugabyteDB Anywhere cannot access the Discovery URL, provide the OIDC configuration for the identity provider directly.
To do this, click Configure OIDC Provider Metadata and paste the OIDC configuration document from your identity provider (in JSON format) into the field.
-
In the Scope field, enter your identity provider OIDC scope that is allowed to be requested. This field accepts a space-separated list of values. If left blank, all scopes will be considered.
-
In the Email Attribute field, enter the OIDC scope containing the user email identifier. This field accepts a case-sensitive custom configuration. Typically, this field is left blank.
-
If you have configured OIDC to use refresh tokens, in the Refresh Token URL field, enter the URL of the refresh token endpoint.
-
If you have configured OIDC enhancements, you can select the Display JWT token on login option to allow users to access their JWT from the YugabyteDB Anywhere sign in page. See Set up OIDC with Azure AD on YugabyteDB Anywhere.
-
-
You can assign the default role for OIDC users to be ReadOnly or ConnectOnly.
-
To map an OIDC group to a YugabyteDB Anywhere role, click Create Mappings, choose the YugabyteDB Anywhere role you want group members to be assigned to, and enter the name of the OIDC group.
You can't assign the SuperAdmin role to a group.
To add more mappings, click Add rows. Click Confirm when you are done.
-
Click Save.