Add nodes to the on-premises provider
After creating the on-premises provider, you can add instances to its free pool of nodes.
- Navigate to Configs > Infrastructure > On-Premises Datacenters, and select the on-premises configuration you created.
- Select Instances.
This displays the configured instance types and instances for the selected provider.
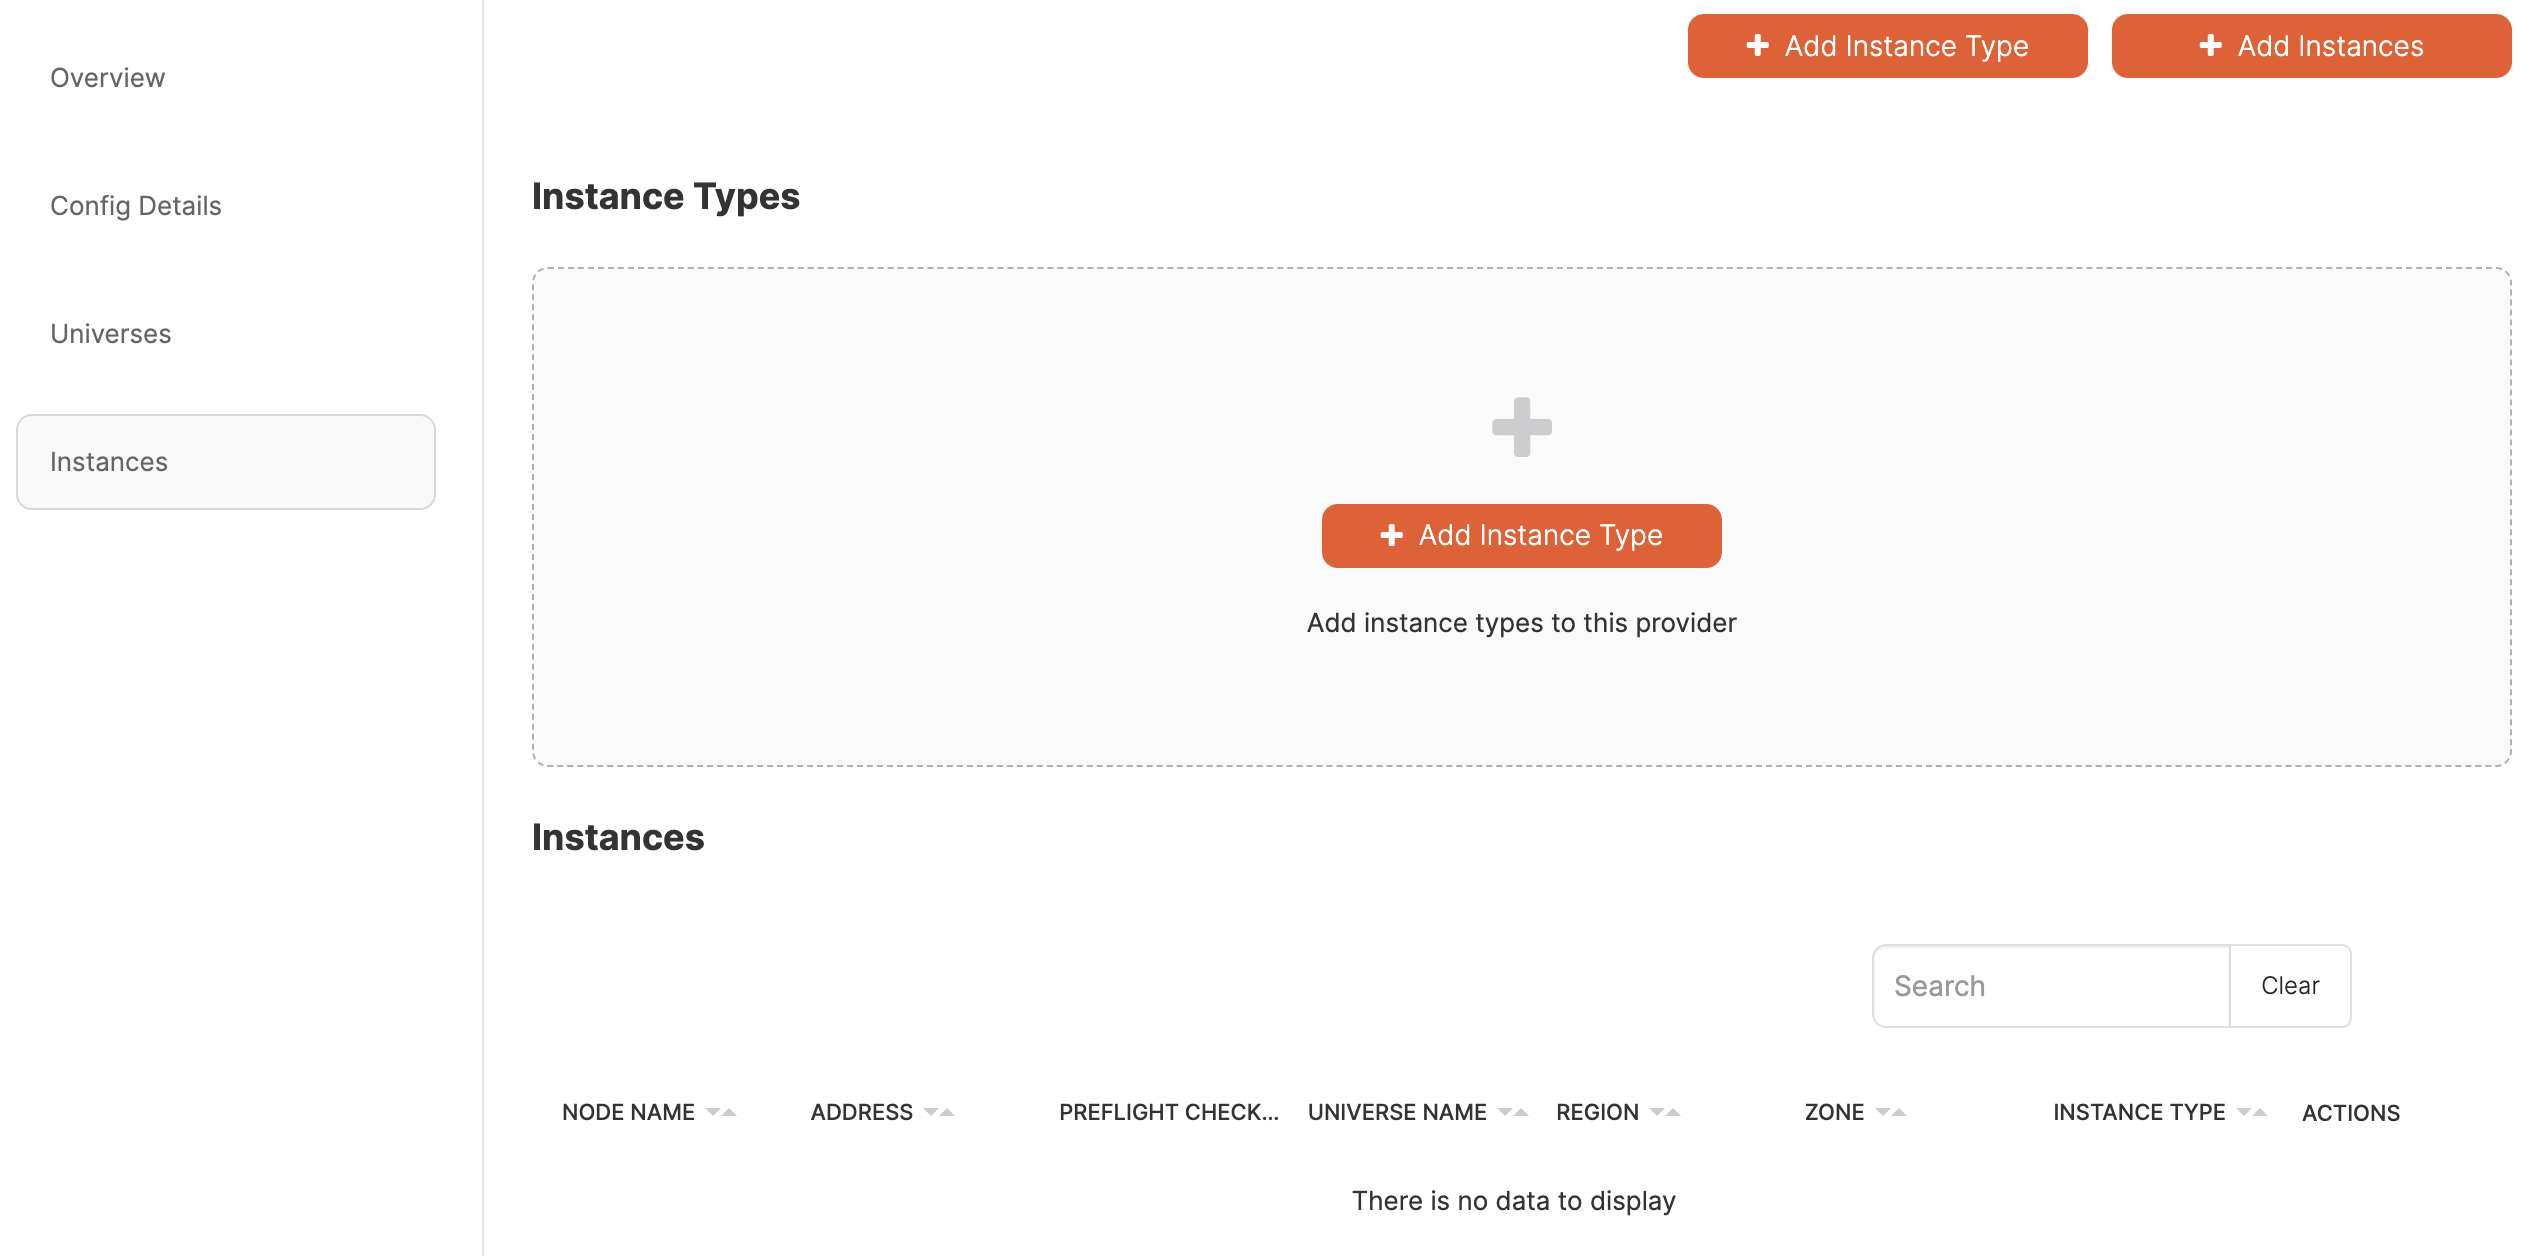
For automatic provisioning, the Instances page is displayed as follows:

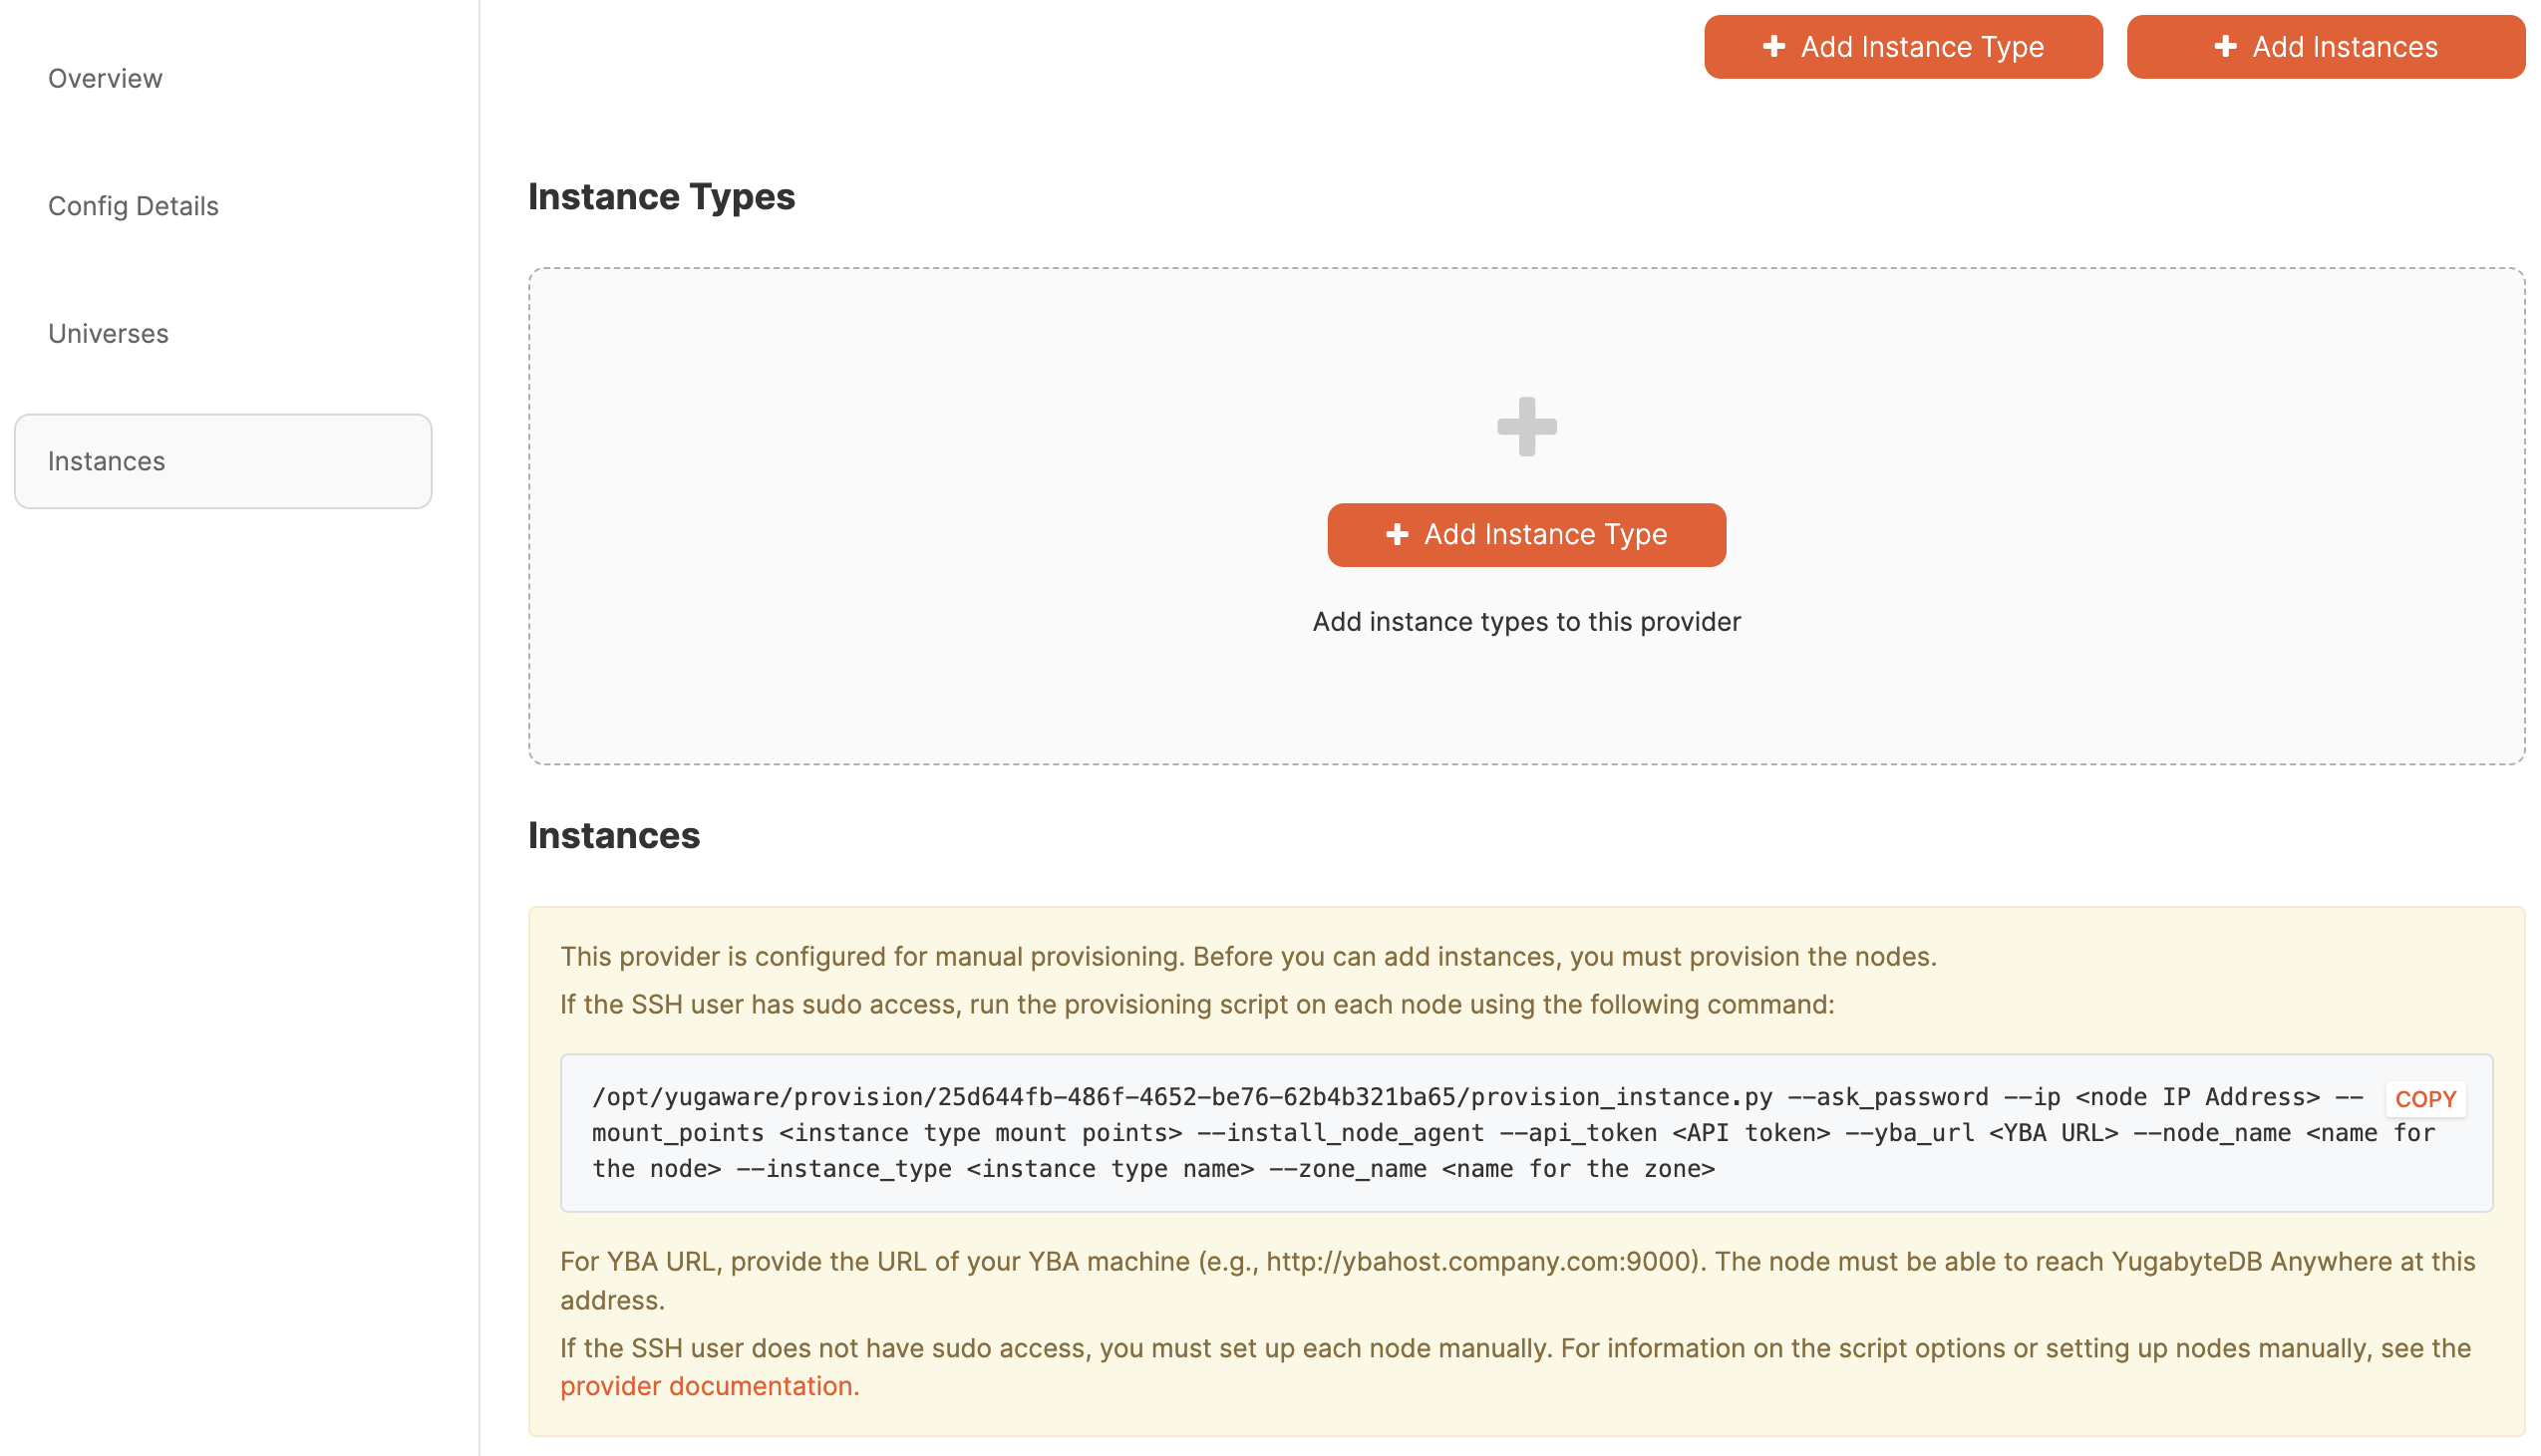
For manual provisioning, the Instances page includes the command for running the provisioning script, as follows:

To add nodes, do the following:
- Specify the compute instance types that will be used in this provider.
- Add the compute instances.
- Run preflight checks.
Add instance types
An instance type defines some basic properties of a VM.
To add an instance type, do the following:
-
On the configuration Instances page, click Add Instance Type.
-
Complete the Add Instance Type dialog fields, as follows:
- Use the Name field to define a value to be used internally as an identifier in the Instance Type universe field.
- Use the Number of Cores field to define the number of cores to be assigned to a node.
- Use the Memory Size (GB) field to define the memory allocation of a node.
- Use the Volume Size (GB) field to define the disk volume of a node.
- Use the Mount Paths field to define a mount point with enough space to contain your node density. Use
/data. If you have multiple drives, add these as a comma-separated list, such as, for example,/mnt/d0,/mnt/d1.
-
Click Add Instance Type.
Add instances
Before you add instances, you need the following:
- The IP addresses of your VMs. See Software requirements for nodes.
- Instance type to assign each instance. The instance types define properties of the instances, along with the mount points. See Add instance types.
- If you are doing assisted manual provisioning, you must provision the nodes using the script. Follow the instructions in Assisted manual provisioning.
Add instances to the on-premises provider
To add the instances, do the following:
-
On the configuration Instances page, click Add Instances.

-
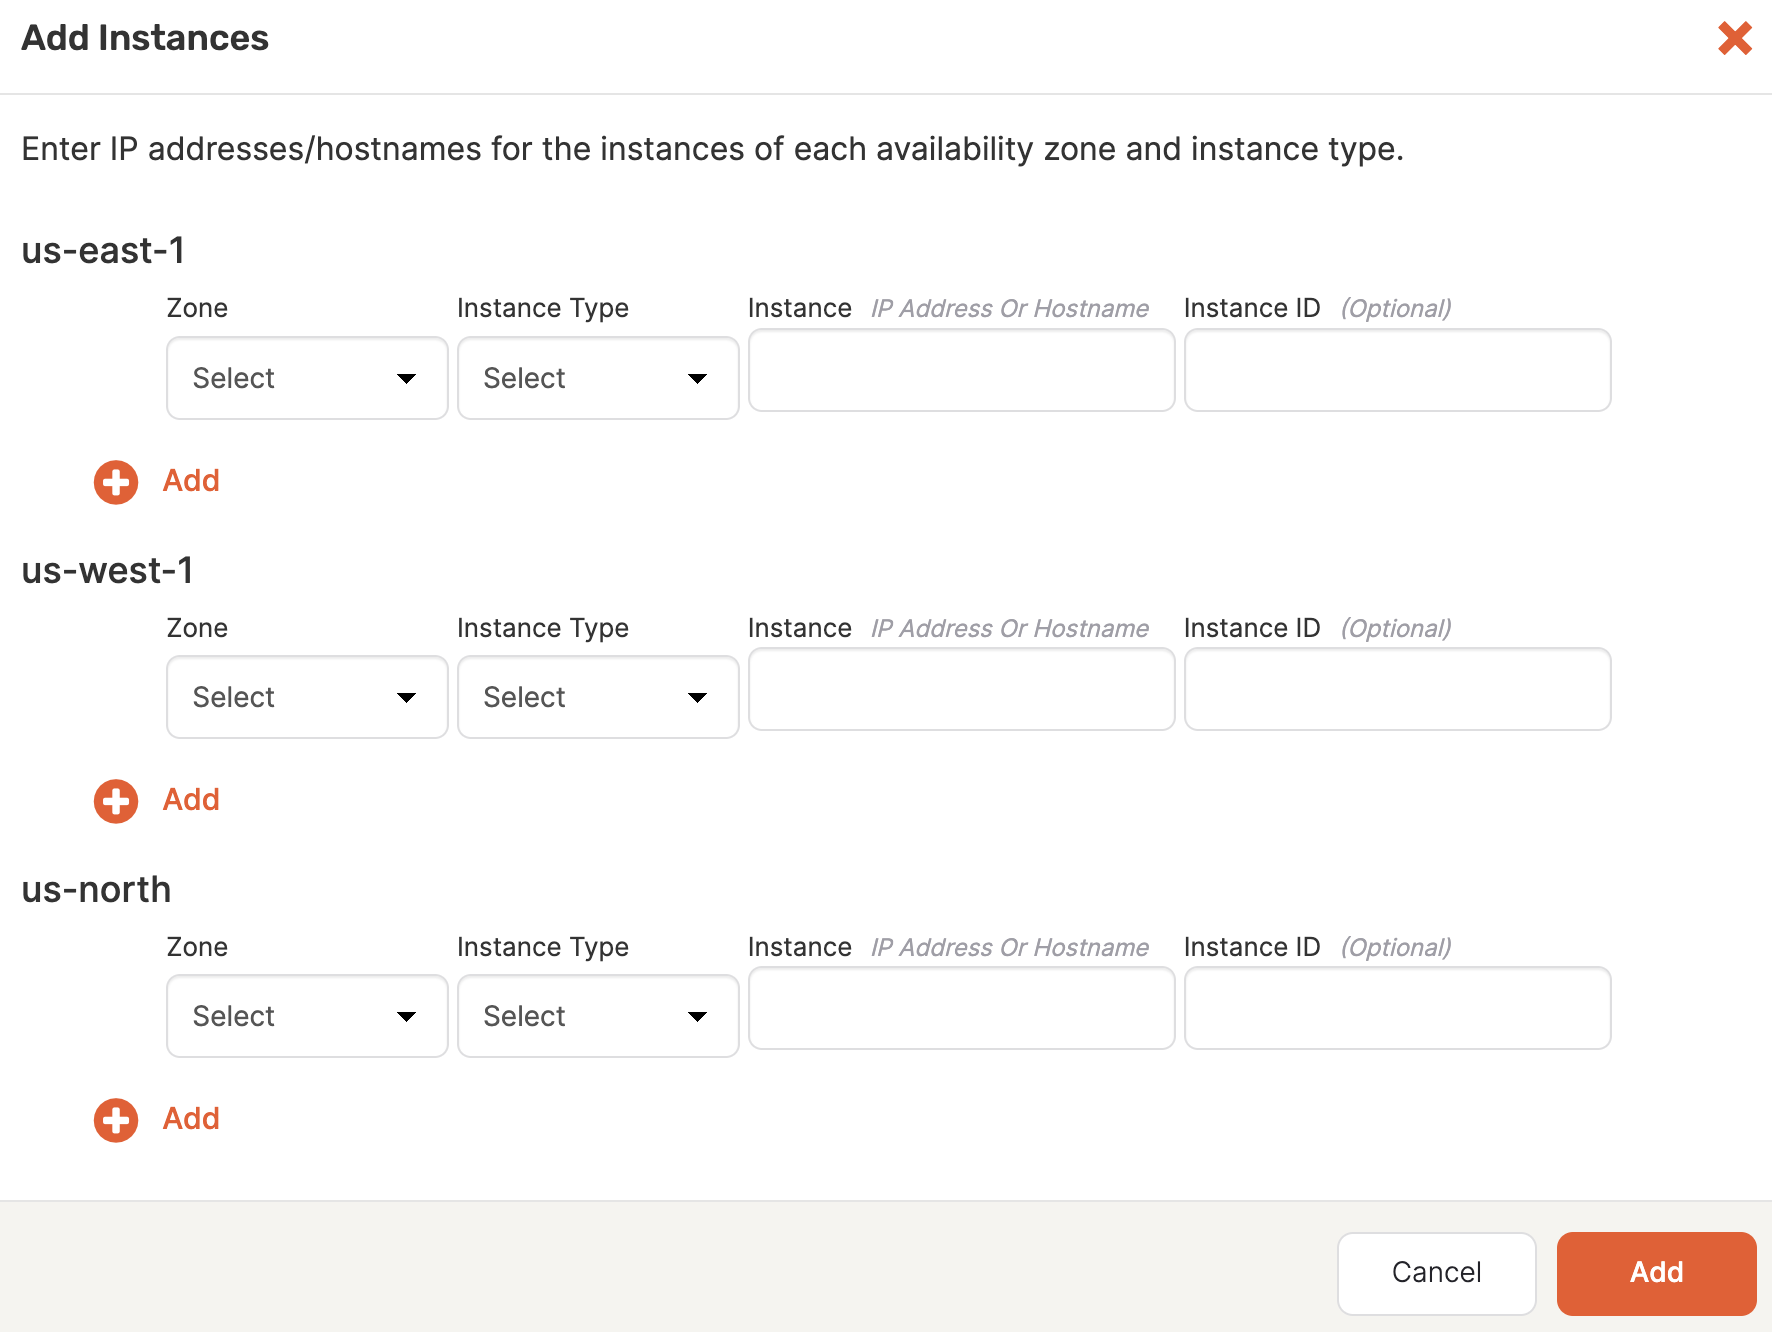
For each node in each region, provide the following:
- Select the zone.
- Select the instance type.
- Enter the IP address of the instance. You can use DNS names or IP addresses when adding instances.
- Optionally, enter an Instance ID; this is a user-defined identifier.
Note that if you provide a hostname, the universe might experience issues communicating. To resolve this, you need to delete the failed universe and then recreate it with the
use_node_hostname_for_local_tserverflag enabled. -
Click + Add to add additional nodes in a region.
-
Click Add when you are done.
The instances are added to the Instances list.
Run preflight checks
After the instances are available in the Instances list, validate them by performing a preflight check.
- For each instance, click Actions, choose Perform check, and click Apply.
YugabyteDB Anywhere runs the check and displays the status in the Preflight Check column. Click in the column to view details; you can also view the results under Tasks.
If all your instances successfully pass the preflight check, your on-premises cloud provider configuration is ready, and you can begin deploying universes.